Our whitelists feature will let publishers engage with creators who don’t meet Woovit’s minimum qualifications. It will also allow trustworthy creators to bypass any campaign-specific requirements to ease key distribution. Here’s a step-by-step process on how to use whitelists:
- To begin, look for the “Whitelists” tab on the top navigation bar.
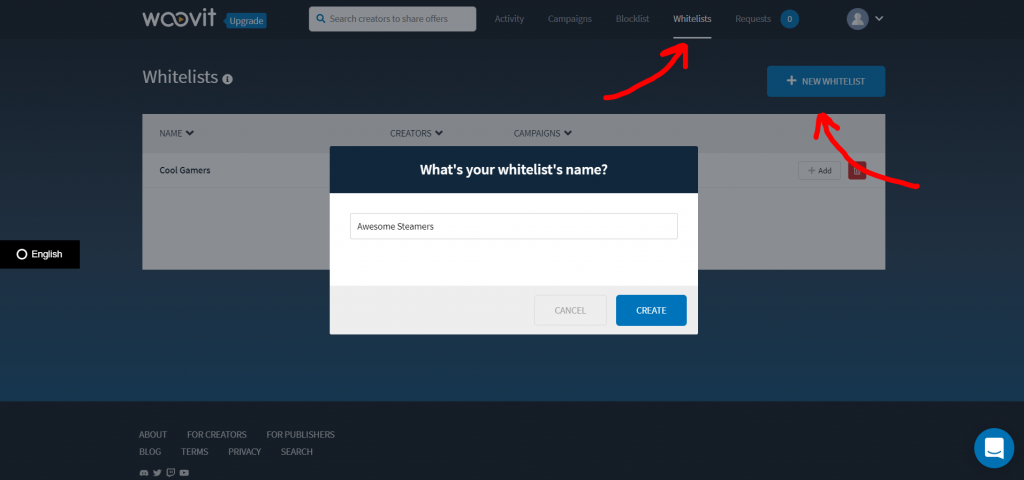
- Click the “+ New Whitelist” button to create a whitelist.

- Click the name of a whitelist or the “+ Add” button to add creators.
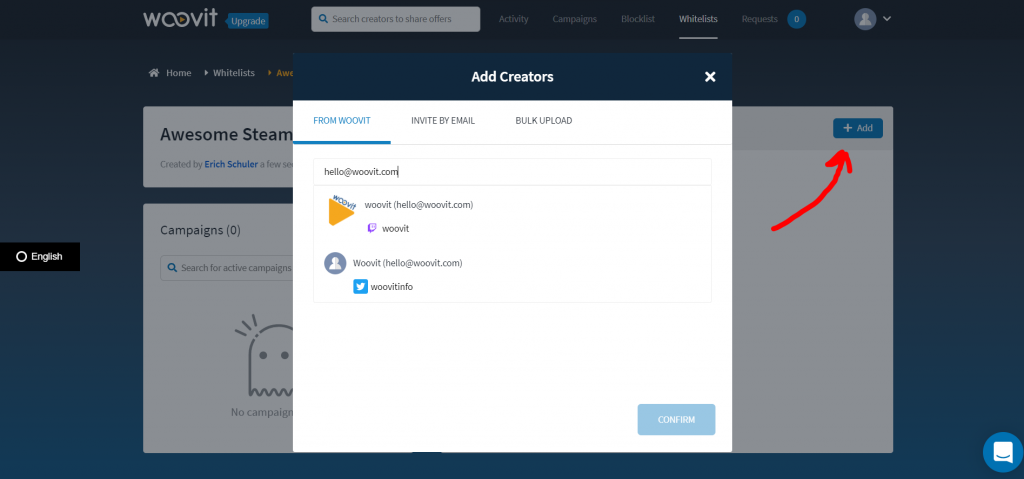
- You can add creators from Woovit, by email, or bulk upload. After you’ve confirmed who’s on the whitelist, you will need to add it to your campaigns.
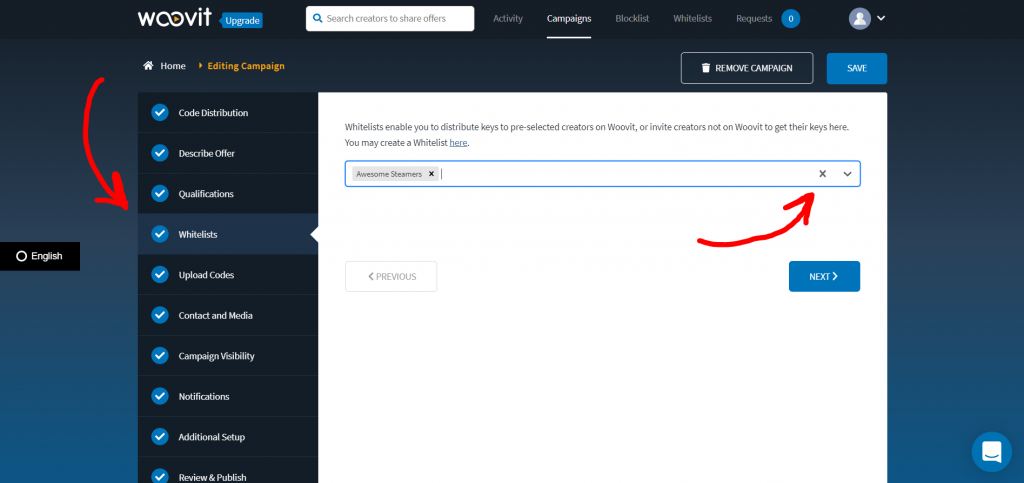
- Creating or editing the campaign gives access to the “Whitelists” tab. Here you can add the whitelist to freely engage with creators on that list.
Publishers can request a demo of how to use whitelists by contacting us at [email protected] or through our support chat in the lower right corner of this screen.